This is the fourth pear in my series on learning Illustrator. I had never really played with Mesh objects in prior versions of Illustrator but since I'm experimenting with everything while learning the CS6 version, decided to check it out. It's definitely fun, and if you are interested in using Illustrator as a painting tool, it's almost as much fun as the Blob Brush (more on that in a later entry.)
Started with my basic pear, leaf and stem from prior efforts, filled them with gradients close to what I wanted them to be colored like and started to convert them to gradient mesh objects.
Learned the hard way that if you want to convert something into a
gradient mesh object, you are way ahead by starting with a solid filled
object as opposed to an object that you've already filled with a
gradient you like. When you select an object with a gradient already
applied to it and choose Object>Create Gradient Mesh, you get an
object filled with a black and white gradient. (What were they thinking when they came up with that?) Whereas, if you start
with an object filled with a solid color close to the color you want to
work with, you get a gradient mesh of that color. The pear on the lower right was clearly easier to get to my goal with.
After the mesh is created, all points can be easily adjusted, rearranged and recolored. It is fun, kind of like painting! I eventually had to stop because you could go a million different directions with it. You can keep adding lines and mesh points and therefore colors endlessly. If you were really patient (which I'm not) you could create a pear that no one would know was not a photograph. My art falls way short of realism. But, I was looking at a real pear while I "painted" and it had interesting pink, green and purple areas, so I put them in.
Before I finished with the pear, I put in some dark blue colors along
the bottom mesh points since I was planning a dark background that would
be somewhat reflected on the pear's yellow skin. Meshed the leaf after filling it first with a solid green color and the stem with a brown.
Next I added a background and filled it with a pattern I'd created earlier. Jazzed up the border with a little scribble effect. Also added some spots for texture to it by creating a little "Art brush" of varying dots and colors that I could see on my real pear.
Painting the mesh was fun. It's not my usual style, but the effect is really nice and easy to achieve. Glad I tried it.
Coming up next - a summary pear created from all the little things I love to use in Illustrator.
Subscribe to:
Post Comments (Atom)
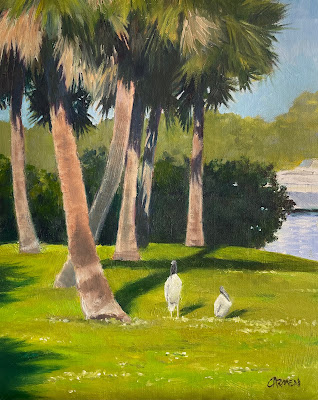
Ballard Park, Original Oil on Canvas
I had not painted outside in two years, so this was quite a challenge. It was one of those paintings I had to improve upon in the studio. ...

-
Hello Pieces of Eight fans. I am the newest piece and my name is Phillis Holland. I was lucky enough to join this wonderful group of eight ...
-
My good friend Vincent Lamb is a wonderful nature photographer and I am a proud owner of a number of his fine photographs of Florida flora a...
-
Checking the Chicks 24 x 24, on salvaged tin ceiling tile unframed, ready to hang I'm having a little too much fun lately w...


No comments:
Post a Comment